Reverse Proxy is a type of proxy server that retrieves the resource on behalf of the client such that the response appears to come from the reverse proxy server itself. One useful application of reverse proxy is when you want to expose a server on your internal network to the internet.
Load Balancing is a technique of distributing requests into several backend servers, hence providing redundancy and scalability. Many Java EE app servers came built-in with clustering feature allowing session to be replicated across all nodes in the cluster.
Apache has few modules that can be used to setup the two above. Following is a guide on how to set it up.
- Ensure you have an apache-httpd installed. This guide is written against httpd 2.4. If you’re on OSX most likely you’ve already got httpd installed.
- Figure out where is your httpd.conf file located. Typically it’s at $HTTPD_ROOT/conf/httpd.conf.
- Enable following modules. Module can be enabled by uncommenting (removing the ‘#’ character at the beginning) the LoadModule directive on your httpd.conf:
[sourcecode]
LoadModule proxy_module modules/mod_proxy.so
LoadModule proxy_http_module modules/mod_proxy_http.so
LoadModule proxy_balancer_module modules/mod_proxy_balancer.so
LoadModule slotmem_shm_module modules/mod_slotmem_shm.so
LoadModule lbmethod_byrequests_module modules/mod_lbmethod_byrequests.so
[/sourcecode] - (Optional) depending on your operating system setup, you might need to change the user & group httpd will use to start the process. On my OSX I have to change it into my own user / group (or root). Use the User and Group directive for this
[sourcecode]
User gerrytan
Group staff
[/sourcecode] - Add the following proxy / load balancer configuration
[sourcecode]
BalancerMember http://192.168.1.101:8080 route=node1
BalancerMember http://192.168.1.102:8080 route=node2
ProxySet stickysession=BALANCEID
ProxyPassMatch ^(/.*)$ balancer://mycluster$1
ProxyPassReverse / http://192.168.1.101:8080/
ProxyPassReverse / http://192.168.1.102:8080/
ProxyPassReverseCookieDomain 192.168.1.101 localhost
ProxyPassReverseCookieDomain 192.168.1.102 localhost
[/sourcecode]The
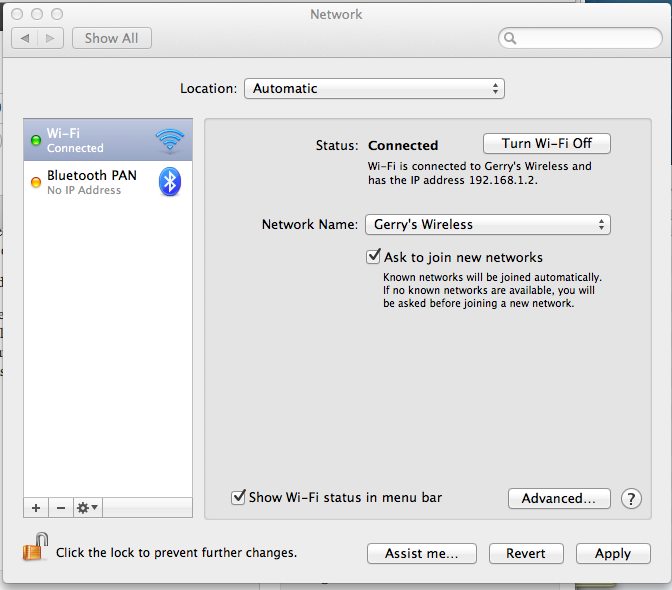
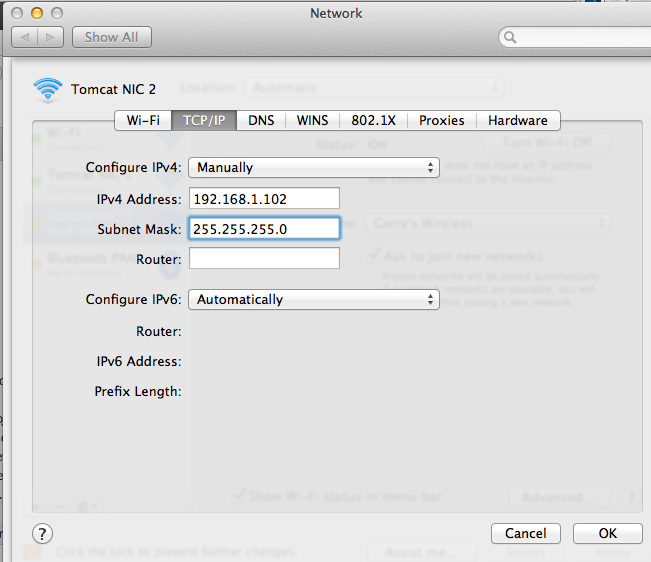
directive specifies we are defining a load balancer with a name balancer://mycluster with two backend servers (each specified by the BalancerMember directive). In my case my backend servers are 192.168.1.101:8080 and 192.168.1.102:8080. You can add additional IPs to your network interface to simulate multiple backend servers running in different hosts. Note the existence of the route attribute which will be explained shortly. The ProxySet directive is used to set the stickysession attribute specifying a cookie name that will cause request to be forwarded to the same member. In this case I used BALANCEID, and in my webapp I wrote a code that will set the cookie value to balancer.node1 or balancer.node2 respectively. When apache detects the existence of this cookie, it will only redirect request to BalancerMemeber which route attribute matches the string after the dot (in this case either node1 or node2). Thanks to this blog article for explaining the step: http://www.markround.com/archives/33-Apache-mod_proxy-balancing-with-PHP-sticky-sessions.html.
The ProxyPassMatch directive is used to capture and proxy the requests that came into the apache httpd server (the proxy server). It takes a regular expression to match the request path. For example, assuming I installed my httpd on localhost:80, and I made a request to http://localhost/foo, then this directive will (internally) forward the request to http://192.168.1.101:8080/foo.
The ProxyPassReverse directive is used to rewrite http redirect (302) sent by the backend server, so the client does not bypass the reverse proxy.
ProxyPassReverseCookieDomain is similar to ProxyPassReverse but applied to cookies.
Few words of warning
There are plenty methods of configuring reverse proxy, this guide uses http reverse proxy which might not deliver the best performance. You might also want to consider AJP reverse proxy for better performance.


