With the new launch of Java EE 7, I felt the quickest way to get a taste of it is to use Glassfish (Java EE reference implementation). Here’s how to get started with Glassfish and Eclipse:
Eclipse GlassFish Setup
-
Download and install JDK 7 if you haven’t done so.
-
-
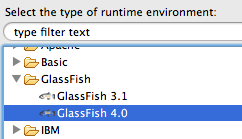
Ensure you have Eclipse installed. First we’ll add Glassfish runtime environment. On Eclipse, go to Preferences -> Server -> Runtime Environments -> Add and select Glassfish -> Glassfish 4.0 (Select Download additional server adapter if you can’t find it).
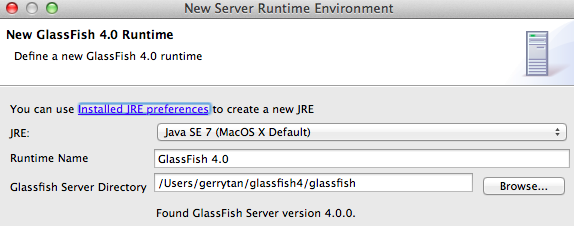
Hit Next, select Java 7 runtime and glassfish directory (On windows this is normally C:glassfish4glassfish)
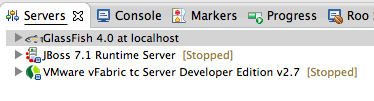
- Next, create a new Glassfish server. Ctrl+N (or Cmd+N on Mac) and select Server -> Server. Select server type GlassFish -> GlassFish 4.0. Accept all defaults and hit Finish. You should now have a Glassfish server on your Servers tab on eclipse:
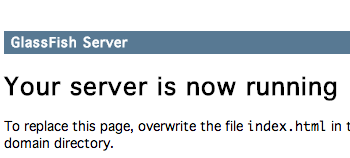
- To test your server, select the Glassfish 4.0 Server from Eclipse server tab and right click -> Start. Glassfish server will output few messages to the console, and you can verify by opening http://localhost:8080 on your browser, you will see something like this:
Right click the server -> Stop to stop the server.
Create New Glassfish Application Project
Now we have eclipse wired to Glassfish, we can begin coding the application.
- Create a new dynamic web project: Ctrl+N (or Cmd+N on Mac) -> Select Web -> Dynamic web project. Configure it like following:

Accept all default (or configure if you need to) and hit Finish
Thank you! It helped me.