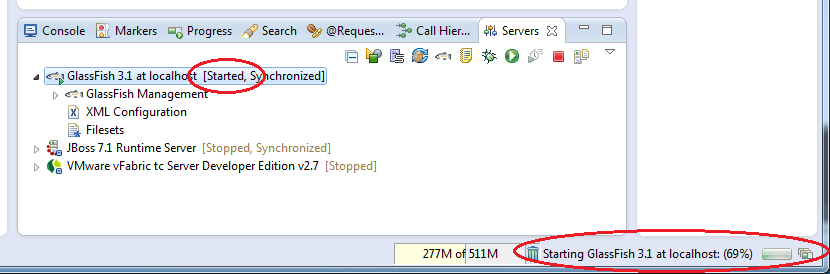
Found this problem on my Windows 7 PC where when I tried to start my Glassfish 3 server via Eclipse it seems to start alright, but Eclipse could not detect it has started.
On the server panel progress bar is stuck at “Starting glassfish..” message, and after few minutes it will say “Unable to start server on time”.. yet the server process is still running on the background.
Thanks to this StackOverflow answer by HAmark, this problem seem to be caused by Java unable to resolve the host name “localhost”.
This can be resolved by adding following entry on your C:WindowsSystem32driversetchosts file:
127.0.0.1 localhost
With the new launch of Java EE 7, I felt the quickest way to get a taste of it is to use Glassfish (Java EE reference implementation). Here’s how to get started with Glassfish and Eclipse:
Eclipse GlassFish Setup
-
Download and install JDK 7 if you haven’t done so.
-
-
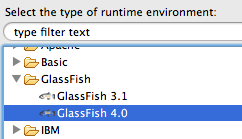
Ensure you have Eclipse installed. First we’ll add Glassfish runtime environment. On Eclipse, go to Preferences -> Server -> Runtime Environments -> Add and select Glassfish -> Glassfish 4.0 (Select Download additional server adapter if you can’t find it).
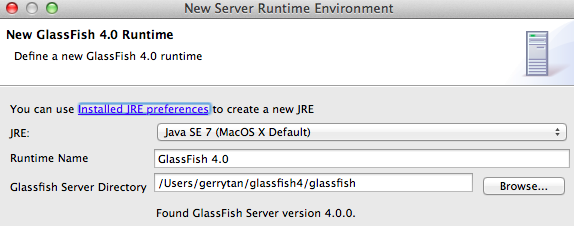
Hit Next, select Java 7 runtime and glassfish directory (On windows this is normally C:glassfish4glassfish)
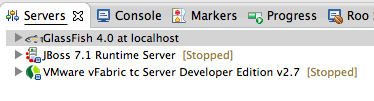
- Next, create a new Glassfish server. Ctrl+N (or Cmd+N on Mac) and select Server -> Server. Select server type GlassFish -> GlassFish 4.0. Accept all defaults and hit Finish. You should now have a Glassfish server on your Servers tab on eclipse:
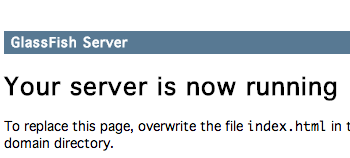
- To test your server, select the Glassfish 4.0 Server from Eclipse server tab and right click -> Start. Glassfish server will output few messages to the console, and you can verify by opening http://localhost:8080 on your browser, you will see something like this:
Right click the server -> Stop to stop the server.
Create New Glassfish Application Project
Now we have eclipse wired to Glassfish, we can begin coding the application.
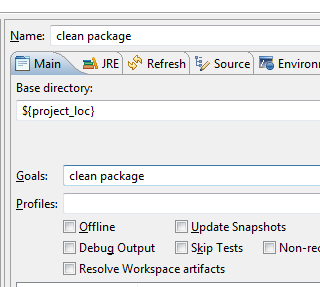
- Create a new dynamic web project: Ctrl+N (or Cmd+N on Mac) -> Select Web -> Dynamic web project. Configure it like following:

Accept all default (or configure if you need to) and hit Finish
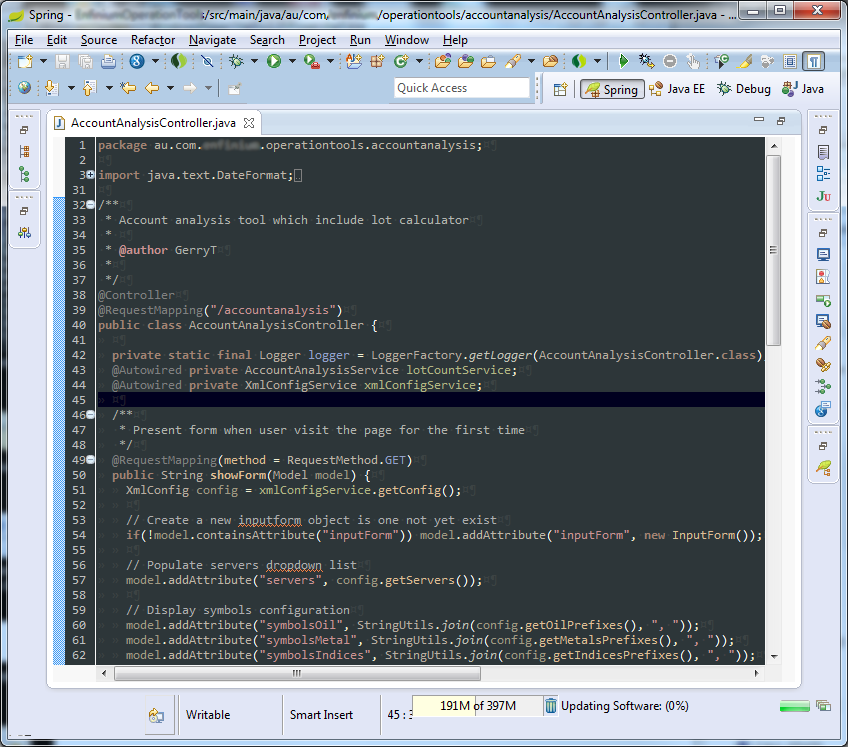
The default eclipse colour scheme is too bright and quite painful to the eye. Trying to change it isn’t the easiest thing to do either as I have spent 30min with no luck. But thanks to the guys behind Eclipse Color Theme plugin, you can change the color theme in an instant.
Installing the plugin is way too easy too, just drag and drop button below to running eclipse window (not on the text editor bit — but on the menu / other area)

Once installed and eclipse restarted, you will find following menu on the preference window to change colours

Unfortunately this only changes the editor window. Many other community attempts to change other components aren’t yet effective & looks good for Eclipse 4 running on Windows 7. Stay tuned will keep you posted.
Gerry's software development journey of trial, errors and re-trials